20 Ideas Chic and Simple Toe Nail Art for Sun-Kissed Beach Days
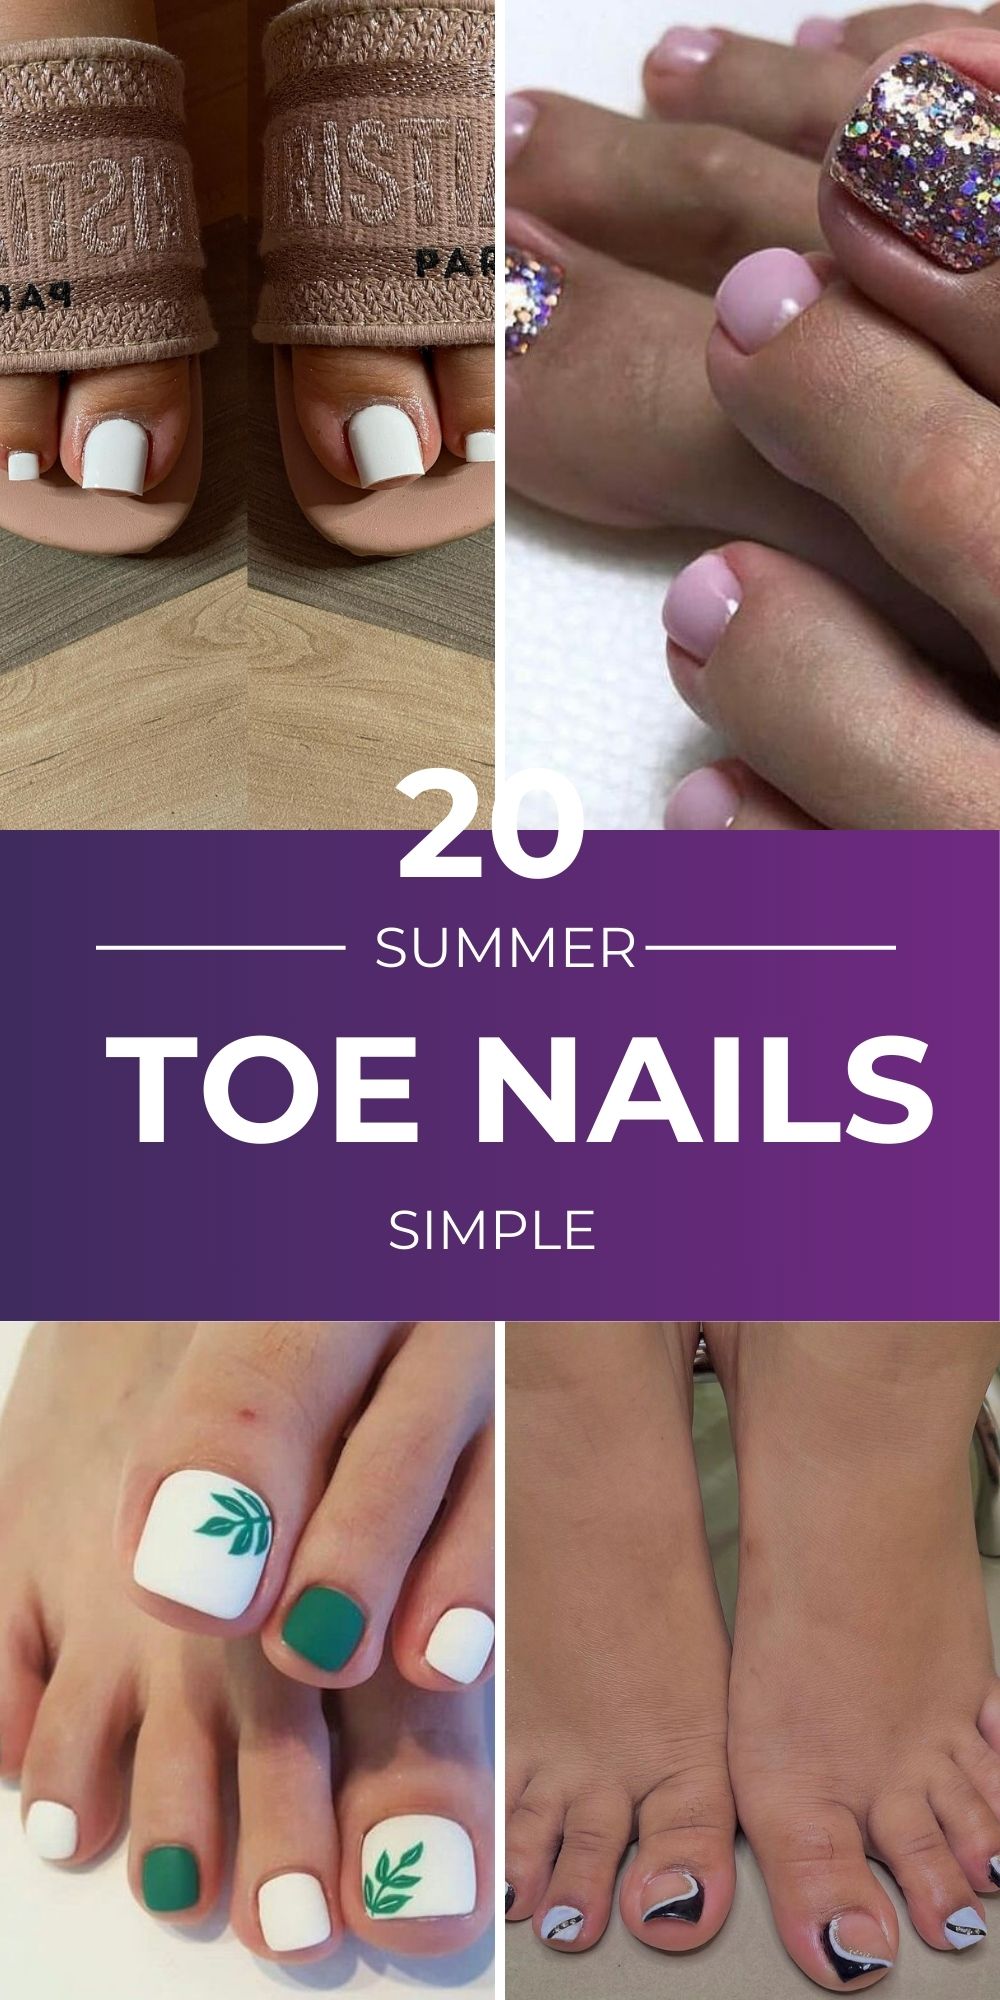
Have you ever felt the warm, sandy embrace of a beach on a summer day and wished your toes were just as ready to shine as the sun above? What better way to usher in the balmy beach days than with perfectly polished and simple summer toe nails? With the sea as your backdrop and the sand as your runway, let’s explore how your toes can steal the spotlight with minimal effort. From the naturally flattering shades that suit every skin tone to the easy designs that speak volumes of elegance, we have the ultimate summer toe nail guide ready for you. Are you prepared to dip your toes into the world of simple summer chic?
Simple Elegance for the Shores
The allure of these toe nails lies in their understated elegance. The design in photo captures the essence of summer with a classic French tip that speaks of timeless sophistication. The clean, white lines dance over a natural nail bed color, creating a contrast that’s as striking as it is simple. It’s the kind of look that whispers luxury without screaming for attention – perfect for a relaxed day by the shore or an evening beach party.

Your Summer Nail Kit
- Base Coat: A clear, strengthening base to protect your nails.
- White Polish: For the pristine French tips. I recommend a quick-dry formula for ease.
- Top Coat: To seal in the color and add a glossy finish that reflects the summer sun.
- Striping Tape: For achieving that flawlessly straight line every time.
- My two cents? Go for quality over quantity. A durable polish will withstand the salty sea and sandy strolls.
Do-It-Yourself Chic
- Start with clean, trimmed nails. Hydration is key, so a little cuticle oil goes a long way.
- Apply the base coat. Let it dry.
- Use striping tape to mark off where the white begins. Precision is your friend.
- Paint the tips white. Remove the tape while the polish is still wet to avoid smudges.
- Finish with a top coat for that sun-catching gloss. Remember, the beach is your playground, and these nails are your sandbox – have fun with them!
Peachy Keen for Beach Scenes
The toe nails in photo are reminiscent of a peachy sunset against a dusky sky. The soft, sparkling pink is flirty and fun, perfect for those who love a touch of whimsy on their summer escapades. The glitter adds just enough pizzazz to make a statement without overwhelming the senses. It’s a playful take on summer toe nails that says, “I’m ready for sun-kissed adventures!”

Glitter and Glimmer Essentials
- Peachy Pink Polish: Choose a shade that’s reminiscent of summer fruits.
- Glitter Topper: A polish infused with fine glitter for that extra sparkle.
- Protective Top Coat: To ensure your glitter stays put through every wave and step.
- Mini Sequins: For those who dare to add an extra twinkle.
- Personally, I’d say the more sparkle, the better – it reflects the joy of the season!
Getting That Glitter On
- Begin with a base coat to shield your nails from staining.
- Sweep on two coats of your chosen peachy polish.
- While the second coat is tacky, gently press on any sequins if you’re using them.
- Cover with a glitter topper for a subtle sheen.
- Seal everything with a protective top coat. Voilà, your toes are beach-bound!
Quirky and Cute for Sandy Toes
The nail design shown in photo is a playful ode to the carefree spirit of summer. The muted base colors adorned with cute, simple icons give a nod to beach umbrellas and sunny skies. This design brings a smile to your face and a quirky twist to the traditional summer palette.

The Whimsical Toolkit
- Pastel Polishes: Soft hues for the base, think seafoam green or sandy beige.
- Detailing Tool: For drawing on those adorable little icons.
- Matte Top Coat: To give the designs a modern, flat finish.
- Stickers: If free-hand isn’t your forte, nail art stickers can be a lifesaver.
- A hint from me: Keep it playful, and let your personality shine through each toe.
Craft Your Summer Story
- Lay down your pastel base, two coats should do the trick.
- Once dry, it’s time for the fun part: the art. Use a detailing tool or stickers to add your icons.
Lavender Whispers
The toe nails in photo boast a soft lavender shade that conjures images of a serene summer dusk. The delicate white flowers hand-painted with a whisper of green stems add an organic touch, evoking the feel of a gentle walk through a blooming garden. This design is not just a look; it’s a tranquil summer mood on your toes.

Essentials for a Floral Fantasy
- Lavender Polish: A creamy, pastel hue for the base.
- White and Green Nail Art Pens: For the intricate floral details.
- Sealing Top Coat: To preserve the artistry against the elements.
- Patience: Fine designs require a steady hand and time.
- As a tip, take it slow. Nail art this delicate is worth the patience it demands.
Crafting Your Petal-Perfect Toes
- Begin with the lavender base, two even coats should suffice.
- Once set, use your nail art pens to gently draw the blooms and stems.
- Let the design dry completely before applying the top coat to avoid smearing.
- Patience is paramount, but the result is pure pastoral elegance – your toes telling tales of summer florals.
A Modern French
The timeless French manicure gets a fresh face-lift in photo. The classic white tip is traded for a bold, matte red, giving a pop of summer vibrancy that’s both modern and minimalistic. It’s a design that marries the traditional with a splash of contemporary boldness – ideal for the fashion-forward beachgoer.

Summer Statement Staples
- Matte Red Polish: For the daring tips.
- White Polish: To outline and highlight the red for a sharper contrast.
- Matte Top Coat: To ensure a trendy flat finish.
- Precision is key: Take your time to perfect those lines.
- My advice? Confidence is your best accessory with this bold look.
Redefining the French Tip
- Prep your toes with a clean, neutral base.
- Apply the matte red polish to the tips. Use tape if you need a guide.
- Once dry, outline the red with thin white lines for definition.
- Finish with a matte top coat for a sophisticated, sand-ready look.
- This isn’t just a manicure; it’s a statement – let your toes do the talking.
Glitter Galore
In photo, we see a party for the toes. The chunky glitter on the big toe screams celebration, surrounded by a calm pink that doesn’t dare compete. It’s a design that knows when to sparkle and when to let the summer’s natural beauty shine through.

Party-Toes Prep List
- Soft Pink Polish: A gentle base for the other toes.
- Chunky Glitter Polish: The star of the show for the big toe.
- Smooth Top Coat: To seal in the glitter and add a glossy sheen.
- Glitter Application Tool: For precise placement of each sparkle.
- Remember, balance is everything. Let the glitter be the life of the party, but don’t let it overshadow.
Sparkling Steps to Glitter Toes
- Apply your pink polish as a base on all but the big toe.
- On the big toe, lay down a base coat before patting on the glitter.
- Use the application tool to distribute the glitter evenly.
- Apply a generous top coat to smooth out the glitter texture.
- Glitter is your ally, but wield it wisely. It’s all about that tasteful twinkle.
Pretty in Pink
Photo shows us a design that’s both sweet and sophisticated. The soft pink is the color of a seashell, complementing any summer tan. The delicate sugaring effect on the tips adds a texture reminiscent of sandy shores, creating a look that’s as touchable as it is sightly.

Sweet Summer Selection
- Pastel Pink Polish: Your sandy seashell base.
- Sugar Effect Powder: For the textured tips.
- Top Coat for Texture: A matte finish to enhance the sandy effect.
- Application Brushes: For a precise sugaring technique.
- Sweet tip: Embrace the texture. It’s a sensory experience as much as a visual one.
Sugared Tips Technique
- Begin with a pastel pink polish, two layers for full coverage.
- Apply a top coat to the tips and sprinkle on the sugar effect powder.
- Press the powder gently with the brush, then dust off the excess.
- Apply a matte top coat over the sugaring for a beachy texture.
- This look isn’t just for the eyes; it’s a tactile tribute to the textures of summer.
Tropical Breeze
Photo showcases a toe nail design that’s as refreshing as a tropical breeze. The crisp white base serves as a canvas for the playful black and peach palm-like accents that bring to mind a shaded spot under a palm tree. This nail design is ideal for beach loungers and island hoppers alike, offering a creative twist to your summer style.

Island Getaway Necessities
- White Nail Polish: The perfect background to make colors pop.
- Black Art Pen: For the delicate details of your palm accents.
- Peach Nail Polish: To fill in your tropical designs.
- Glossy Top Coat: To protect your mini masterpieces.
- Keep it light and carefree—the spirit of the islands demands nothing less.
Creating Your Island Retreat
- Paint a clean white base and let it dry thoroughly.
- Draw your palm accents with the black art pen, then fill them with peach polish.
- Once your artwork is dry, apply a glossy top coat to seal and shine.
- These toes will tell tales of sunny days and island escapades, so let your creativity flow!
Chic Metallics
The nail design in photo strikes the perfect balance between simplicity and glamor. The pure, glossy white base adorned with a single metallic accent nail brings a touch of sophistication. This toe nail design is for those who appreciate the allure of minimalism with an unexpected twist of chic.

A Touch of Sophistication Kit
- Glossy White Polish: For that clean and sleek base.
- Metallic Flakes: To create that statement accent nail.
- Clear Top Coat: To enhance the metallic shine.
- Polish Sponge: To apply metallic flakes with precision.
- A little goes a long way—let that single metallic nail be the conversation starter.
Crafting the Metallic Accent
- Begin with the white polish on all toes.
- Apply a clear coat to the accent nail and gently press on the metallic flakes.
- Sponge off any excess flakes for a clean look.
- Seal it all with a clear top coat for a durable, glossy finish.
- Simplicity meets elegance in this design, proving once again that less is often more.
Edgy Elegance
In photo the boldness of black meets the purity of white in a toe nail design that’s strikingly edgy yet elegantly simple. The angular lines and sharp contrasts are reminiscent of modern art, suitable for anyone looking to make a statement with their summer look.

The Contemporary Edge Selection
- Black Nail Polish: For the strong, defining lines.
- White Nail Polish: To provide contrast and background.
- Glossy Top Coat: For that extra shine and protection.
- Precision Brush: To achieve those clean, crisp edges.
- Embrace the boldness—the contrast is what defines this contemporary design.
Constructing Your Edgy Masterpiece
- Apply the white polish as a base on all toes.
- With a precision brush, add the black geometric shapes and lines.
- Carefully clean up any overlaps for that sharp, refined finish.
- Once dry, apply the glossy top coat to give your artwork longevity and luster.
- These toes are not just trendy; they are a declaration of style and individuality.
Soft Snowflakes
Photo presents a serene design that juxtaposes the summer heat with the coolness of winter-inspired snowflakes. The gentle blue hue offers a refreshing visual, while the white snowflakes add a touch of whimsy, like a cool breeze on a hot day.

Chillingly Beautiful Basics
- Soft Blue Nail Polish: Reminiscent of clear summer skies.
- White Nail Art Pen: For those delicate snowflakes.
- Matte Top Coat: To give the effect of freshly fallen snow.
- Steady Hand: Snowflakes require precision and calm.
- It’s a playful twist on seasonal norms, bringing a cool touch to your summer vibe.
Crafting Your Cool Toes
- Start with a soft blue polish base, ensuring a clear sky for your flakes.
- With a white nail art pen, draw snowflakes on each toe or choose an accent.
- Allow the design to set before applying a matte top coat for that frosted look.
- Each step in the sand will be a refreshing reminder of a cool winter’s touch amid the summer heat.
These creative designs, paired with the tips and tricks provided, will surely make your summer toes the talk of the beach. Embrace each style, and let your toes tell your summer story.
Juicy Delights
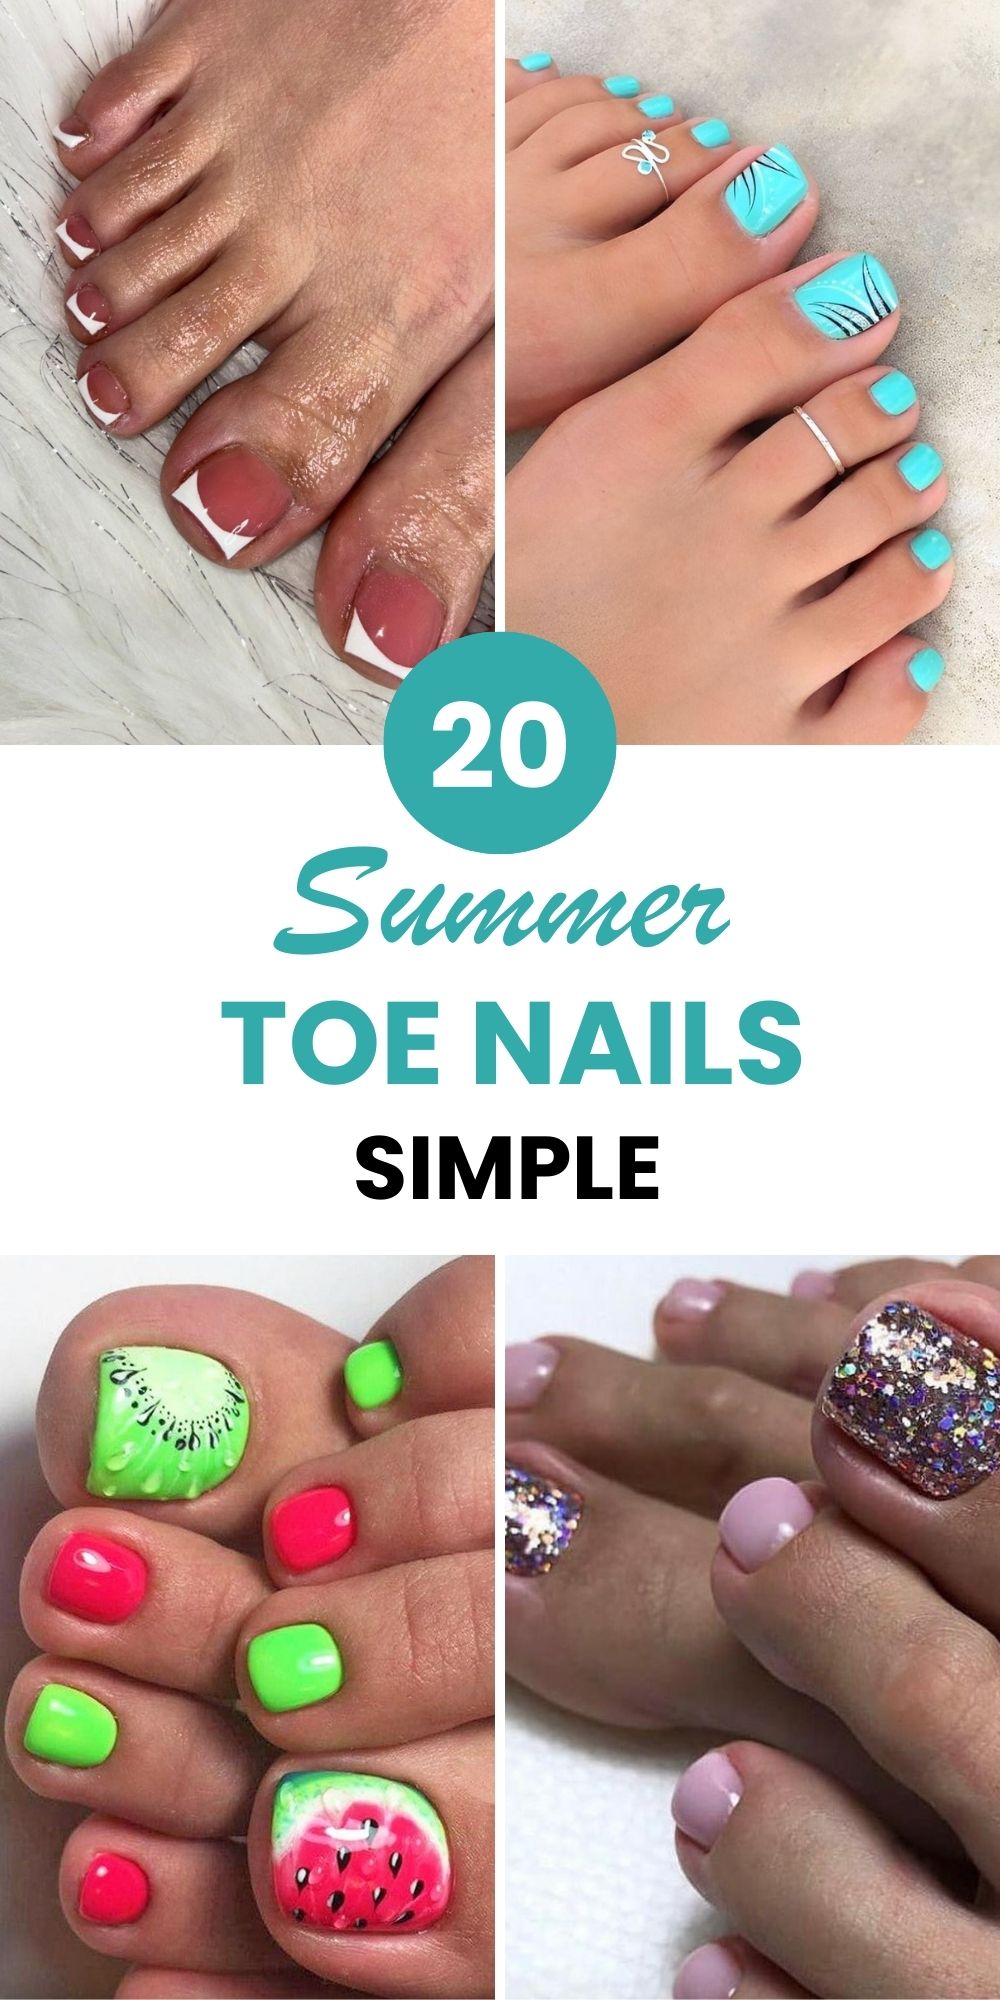
Photo takes us on a whimsical journey to a world where the toes become a canvas for fruity fun. With a zesty green and vibrant pink reminiscent of watermelon and kiwi, this design is perfect for those who love to add a playful, tropical twist to their summer ensembles.

Essentials for Fruit-Inspired Toes
- Neon Green Polish: For that bright, eye-catching base.
- Vivid Pink Polish: To give a splash of watermelon delight.
- Black Nail Art Pen: For the kiwi seeds and watermelon dots.
- Glossy Top Coat: To seal in the design and add that juicy shine.
- Tip: Let your imagination run wild; these are toes that celebrate the joy of summer.
Crafting Your Fruit Bowl
- Start with alternating nails in neon green and vivid pink.
- Use the nail art pen to detail the kiwi seeds and watermelon dots.
- Apply a glossy top coat to ensure your fruity design stays fresh.
- Embrace the sweetness of the season with every step you take on the beach.
Serene Strokes
Photo epitomizes tranquility with its cool blue tones and delicate brushstroke design. The minimalist approach, punctuated by speckles and lines, evokes the peaceful ebb and flow of the ocean’s waves. It’s an understated look for the serene beachgoer.

Toolkit for Tranquil Toes
- Pastel Blue Polish: For a soft, serene base.
- Black Nail Art Pen: To create the minimalist details.
- Matte Top Coat: To give the artwork a contemporary finish.
- Fine Brush: For the precise application of delicate strokes.
- Recommendation: Take inspiration from the sea’s vast beauty; let your toes reflect its grace.
Painting Your Peaceful Toes
- Coat your nails with a gentle pastel blue, reminiscent of sea foam.
- Add an artistic touch with the fine brush and black nail art pen.
- Finish with a matte top coat to enhance the subtlety of the design.
- With toes like these, each grain of sand feels like a stroke of tranquility underfoot.
Sunset Hues
In photo we find a toe nail design that captures the breathtaking colors of a summer sunset. The gradient from purple to pink to yellow reflects the sky’s own painting at dusk. This look is for those who carry the warmth of the sun’s farewell kiss on their toes.

Sunset Palette Essentials
- Purple, Pink, and Yellow Polish: To create the perfect gradient.
- Sponge: For blending the colors seamlessly.
- Glossy Top Coat: To give the gradient a smooth, shining finish.
- Patience: Gradients take time to perfect, but the result is worth it.
- Take your time blending; the colors should melt into each other like a sunset into the sea.
Blending the Sunset
- Apply a base of purple polish.
- Dab pink and then yellow onto a sponge and press onto the nail to create the gradient effect.
- Repeat until you achieve a seamless transition of colors.
- A glossy top coat gives the impression of the setting sun’s glistening reflection on the water.
- Let these toes be a reminder of the sky’s evening spectacle, a memory of summer’s gentle close.
Nature’s Whisper
Photo brings a touch of nature to your toes with its clean white base and delicate green leaves. This design is a nod to the natural beauty of leafy serenity, perfect for those who appreciate the organic lines and whispers of the earth.

Botanical Kit for Green Toes
- Crisp White Polish: A pristine background for your leafy designs.
- Green Nail Art Pen: To bring the foliage to life.
- Matte Top Coat: For an earthy, natural finish.
- Steady Hand: Leaves require a gentle touch and a bit of artistry.
- A hint from me: Nature is the best artist; let her work inspire your own.
Crafting Your Leafy Toes
- Paint a solid white base to highlight the greenery.
- With your nail art pen, carefully draw each leaf, adding dimension with light strokes.
- A matte top coat transforms the design into a velvety botanical wonder.
- Walk barefoot and feel connected to the earth with every step, as your toes become an extension of nature’s beauty.
Each of these toe nail designs brings its own unique vibe to your summer look, combining playfulness, tranquility, warmth, and nature’s own elegance. Perfect for the beach or any summer gathering, let these creative ideas inspire you to experiment with your own nail art adventures.
Coastal Waves
Photo is a celebration of the sea with its bright turquoise hue that immediately takes you to crystal clear waters. The artistic black lines and silver glitter evoke the movement of waves crashing onto the shore, perfectly encapsulating the essence of the ocean.

Seaside Escape Essentials
- Turquoise Nail Polish: A vibrant base that mirrors the ocean.
- Black Nail Art Pen: For the flowing wave designs.
- Silver Glitter: To mimic the sparkle of sunlight on water.
- Top Coat: A glossy finish to enhance the sea-inspired look.
- Pro Tip: Embrace the flow of the waves in your design – let them be as free and wild as the sea itself.
Crafting Your Waves
- Begin with a bright turquoise polish for a bold base.
- Draw freehand waves with the black art pen, then add touches of silver glitter to highlight.
- Finish with a glossy top coat to seal your design and add durability.
- These toes are a testament to the beauty of the beach, ready to dive into the summer sands.
Subtle Bubbles
Photo presents a toe nail design that’s understated yet imaginative. The soft grey base paired with gentle pops of blue and yellow dots resembles the playful dance of bubbles under the sea, perfect for those who appreciate the quiet wonders of ocean life.

Oceanic Bliss Toolkit
- Soft Grey Polish: For a calm and collected base.
- Pastel Blue and Yellow Dots: To represent the marine bubbles.
- Glossy Top Coat: To ensure the design glistens like the sea.
- Dotting Tool: For precise and perfect bubble effects.
- Expert Tip: The beauty is in the details. Take care to place each ‘bubble’ thoughtfully.
Bringing Bubbles to Life
- Paint a soft grey base to start with a serene ocean floor effect.
- Dot on pastel blue and yellow to create your bubbly pattern.
- Apply a glossy top coat for that wet, oceanic finish.
- Let your toes tell a story of tranquil underwater scenes with every step on the beach.
Pastel Paradise
Image captures the playful spirit of summer with pastel colors that are reminiscent of ice cream on a hot day. Each toe sports a different hue, creating a rainbow that’s soft yet full of life, perfect for those who love to add a burst of color to their summer adventures.

Ice Cream Dream Collection
- Assorted Pastel Polishes: For a variety of summery shades.
- Glossy Top Coat: To protect your pastel palette.
- Patience and Playfulness: For applying different colors with joy.
- Nail Cleaner: To keep the edges clean and sharp.
- Suggestion: Have fun with it! The more playful the approach, the sweeter the result.
Crafting Your Pastel Rainbow
- Start by choosing a pastel color for each toe, alternating as you go.
- Apply two coats for a solid, opaque look.
- Clean up any smudges for a professional finish.
- A glossy top coat brings out the vibrancy of the colors and ensures longevity.
- This design is a whimsical walk through summer’s most delightful treats.
Sky Blue Dreams
Image is like looking up at a cloudless sky. The rich blue is vivid and encompassing, offering a bold statement that’s both grounding and freeing. It’s a toe nail design for those who dream as vast as the summer sky itself.

Clear Skies Ahead Kit
- Vivid Blue Polish: A color that’s both deep and bright.
- Top Coat: For a smooth, shiny finish that lasts.
- Precision and Boldness: Apply with confidence for the best effect.
- Pro Tip: Don’t shy away from the boldness; it’s what makes this design stand out.
Painting Your Sky
- Cover your nails with the vivid blue polish, applying two coats for even coverage.
- Once dry, add a layer of top coat for an added sheen, like sunlight glinting off the ocean.
- The result is as simple as it is striking—a splash of the infinite summer sky at your very feet.
These vivid and varied toe nail designs offer a palette as wide and enchanting as summer’s own canvas. From the deep blues of the ocean to the whimsical colors of a summer treat, each design invites you to step into the season with style and creativity.
Sweet Summer Treats
Photo is a delightful medley of summer flavors, illustrated through a fun and fruity nail art design. The vibrant watermelon patterns on a pink base paired with alternating shades of pastel pink and vivid green capture the essence of summer’s favorite fruit, perfect for beach picnics and poolside lounging.

Summer Fruit Fiesta Collection
- Pastel Pink Polish: A sweet base reminiscent of watermelon flesh.
- Vibrant Green Polish: For a pop of color and to represent the rind.
- Black Nail Art Pen: For the tiny, seed-like details.
- Top Coat: To seal the design with a shiny finish.
- Expert Tip: The key to playful nails is to have fun with the design – let each toe be a slice of summer joy.
Creating Your Watermelon Toes
- Apply pastel pink polish on all toes, using vibrant green on alternate ones.
- On the big toes, use a black nail art pen to add watermelon seed details.
- Consider adding a swipe of white before the green to mimic the watermelon’s rind.
- Finish with a top coat for a smooth, glossy look that will last through all your summer adventures.
- These toes are not just a fashion statement; they’re a tribute to the sweetest moments of summer.
Save Pin
